Structure of ACMP asset management
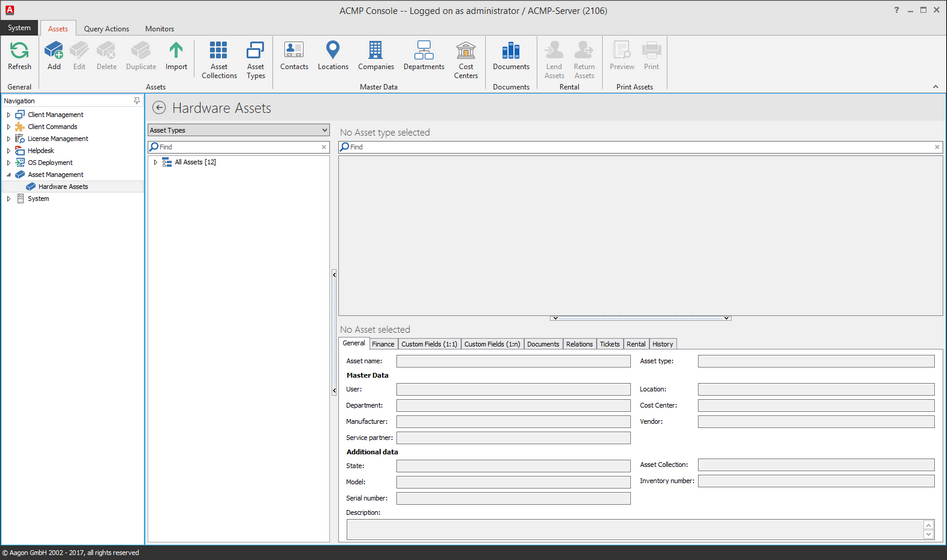
To call the asset management you have to navigate to Asset Management -> Hardware Assets.

Overview asset management
The ribbonbar shows all possible functions for asset management
In the workspace you can see all defined asset types. You can adjust that view to locations, departments, cost centers and asset collections. On the right side of your ACMP consloe there are 2 areas. The upper area includes all assets of the selected asset type. Among them are the details for the asset.
Notice: |
When you have already defined base data for an asset these are linked. You can open them in a read-only-window. |
Edit asset
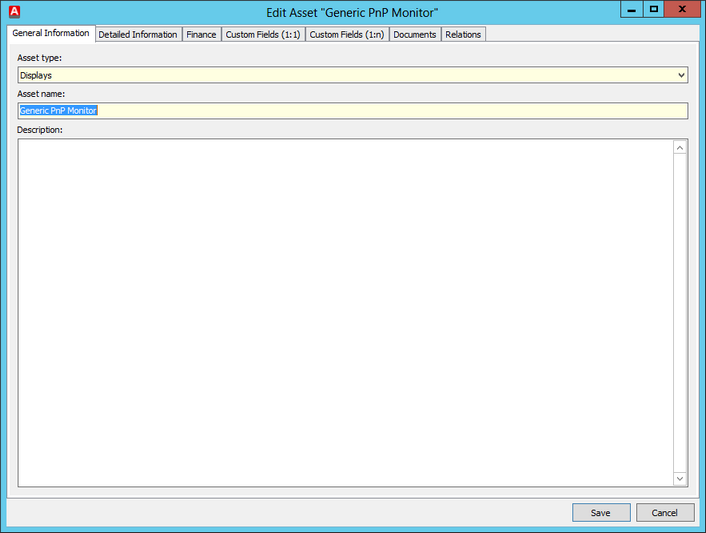
To edit an asset you have to mark the asset and select edit asset in the ribbonbar. Alternatively you can perform a double-click on den asset. You will see a new window in which you can see and edit the asset details.

Assets details
Notice: |
Consider the adaptations in 1:n fields are not shows in the change historie. |
On General Information you can edit the asset type and the asset name. Optional you can add and edit the Description. The Detailed Information are the master data and additional information. The tab Finance displays all buying and guarantee informations.
To configure the Userdefined fields go to the settings. Alle definied field are editable on that tab.
On the tab Documents you are able to assign documents to the asset directly and the tab Relations offers you the options to link the asset to another asset or a client.
After editing the asset click save.
Simultaneously editing of multiple assets
You can edit multiple assets in <%ASSET MANAGEMENT%>. Navigate to Asset Management -> Hardware Assets.
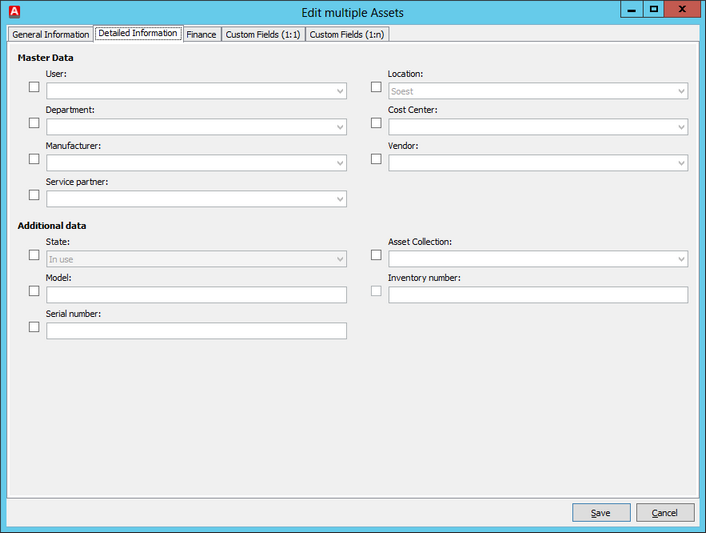
Select an asset type to display and mark the assets in the right window area. Open the context menu and select edit.

Edit multiple assets
To change a value for all assets you have to check the checkbox before the entry. Enter the new value and confirm with save.
Notice: |
When existing values for all selected assets are the same you will see them. |
Last change on 20.02.2017