Note: |
Always use the boot image that corresponds to your operating system when doing a rollout (setup-based or image-based).
|
|
Add Opens a wizard to add a new boot image |
|
Edit Opens a wizard for editing the selected boot image |
|
Delete Deletes the selected boot image |
|
Search Opens a search window |
|
Approve Here you can approve the boot image and distribute it to the file repositories. |
|
Create physical boot medium from image This opens a wizard, which allows you to create a physical medium of the boot image with the Windows assessment and deployment kit. |
This lists all of the existing boot images in a folder structure.
The folders can be customized and can thus reflect the entirety of your company's structure.
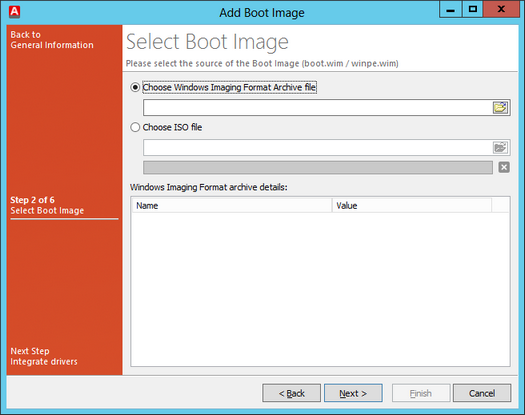
To set up a new boot image, first select the folder where you would like to store the new boot image and select Add boot image. First assign a name and fill in the description in order to select the source for the boot image on the next page. You can select both a boot.wim / winpe.wim file as well as an *.iso file here.

Select boot image
The Boot.wim file is located in the sources folder of a Windows installation media (Windows Vista and later). After selecting the source, this is read and the details are displayed in the bottom of the window. After clicking Next, you can use DISM to integrate drivers or entire driver packages into Boot.wim. Since the WinPE needs access to the network and the hard drive, network card and mass storage drivers need to be integrated here as required. When integrating, you will rely on drivers already created . If no drivers have been set up yet, you can do this step at this time. On the following page, select the tasks to follow.

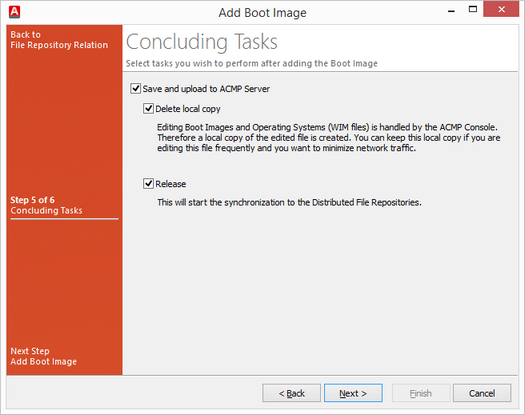
Select concluding tasks
When selecting Save and transfer to the ACMP server, the boot image just created is saved and transferred to the server. If you disable this option, the following options are also disabled.
Note: |
If you have opted not to save the boot image, you will be informed when exiting this menu item that there are changes that have not been saved and you will asked whether you want to save before proceeding. If you select No,the boot image you just created will be deleted. |
This will automatically create a local copy of the boot image. If you frequently change the boot image, the local copy can help minimize network utilization. If the boot image was modified by another user or you do not have a local copy, you will be told before any change to the boot image that the current version will first be loaded from the server.
Enable the Approveoption in order to distribute the boot image to your file repositories.
All disabled tasks can then be handled directly in the ACMP console at any time.
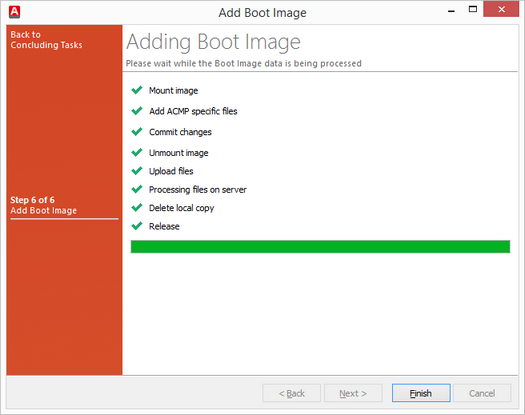
The boot image is then added.

Add boot image
Note: |
It can occur that DISM will show errors when adding the boot image. These errors are due to an incompatible version of DISM. |
In the overview, the name, description, the architecture, version, and size of the associated boot image are displayed. You also have a quick look at its properties. The following specifications are possible:
|
Sync pending The boot image has not been synchronized with the ACMP server |
|
Sync completed The synchronization with the ACMP server has been completed |
|
Not approved The boot image has not been transferred to the file repositories |
|
Approved The boot image has been approved and transferred to the file repositories. |
No local copy available There is no local copy of the boot image |
|
|
Local copy available A local copy of the boot image was found. No symbol displayed. |
|
Outdated local copy available A local copy of the boot image was found, but it is out of date. |
Note: |
Please note that a new image is created whenever there is a change to the server (reinstallation, relocating, new ServerID created by support staff). Alternatively, it is possible to adjust the ServerID directly in Settings.ini. The ServerID can be read from the database or the server registry. |
Last change on 21.04.2016
